client_id and client_secret) and pilot how Finch works in a safe testing environment with mock data.
- Go to the Finch Developer Dashboard and sign up for a new account. You’ll need to provide your name, company name, email address, and create a password.
- Once you have created an account and logged in, locate the sandbox application in the upper left which was automatically created.
- Upon creating the application, you’ll be provided with a
client_idandclient_secret. You will use these credentials to authenticate your application to obtain access tokens in order to call the Finch APIs. - Set up a secure method for storing your
client_id,client_secret, and futureaccess_tokens to prevent unauthorized access. Here are some methods to securely store these credentials:- Environment Variables: Store your
client_idandclient_secretas environment variables within your application. When your application needs to use these credentials, it can access them from the environment variables without exposing them in your source code. - Secure Database: Store the access tokens in a secure database with proper encryption and access controls in place. Make sure to use a database that supports encryption at rest and in transit to ensure the security of the stored tokens.
- Secrets Management Solutions: Utilize a specialized secrets management solution, such as HashiCorp Vault or AWS Secrets Manager. These tools provide additional layers of security, access control, and auditing capabilities to ensure the safe storage of your
client_id,client_secret, andaccess_token. - When storing access tokens, also store any relevant metadata, such as the associated employer ID. This will help you maintain data integrity and prevent mixing up tokens across different employers. This topic is covered in more detail in Store Tokens.
- Environment Variables: Store your
Familiarize Yourself With the Finch Developer Dashboard
The Finch Developer Dashboard is your centralized place to manage your Finch Applications, view current connections, review request activity, and set up webhook alerts. We will cover these tabs in more detail in the following sections, but here is a quick overview.- Credentials: View your application credentials, including your
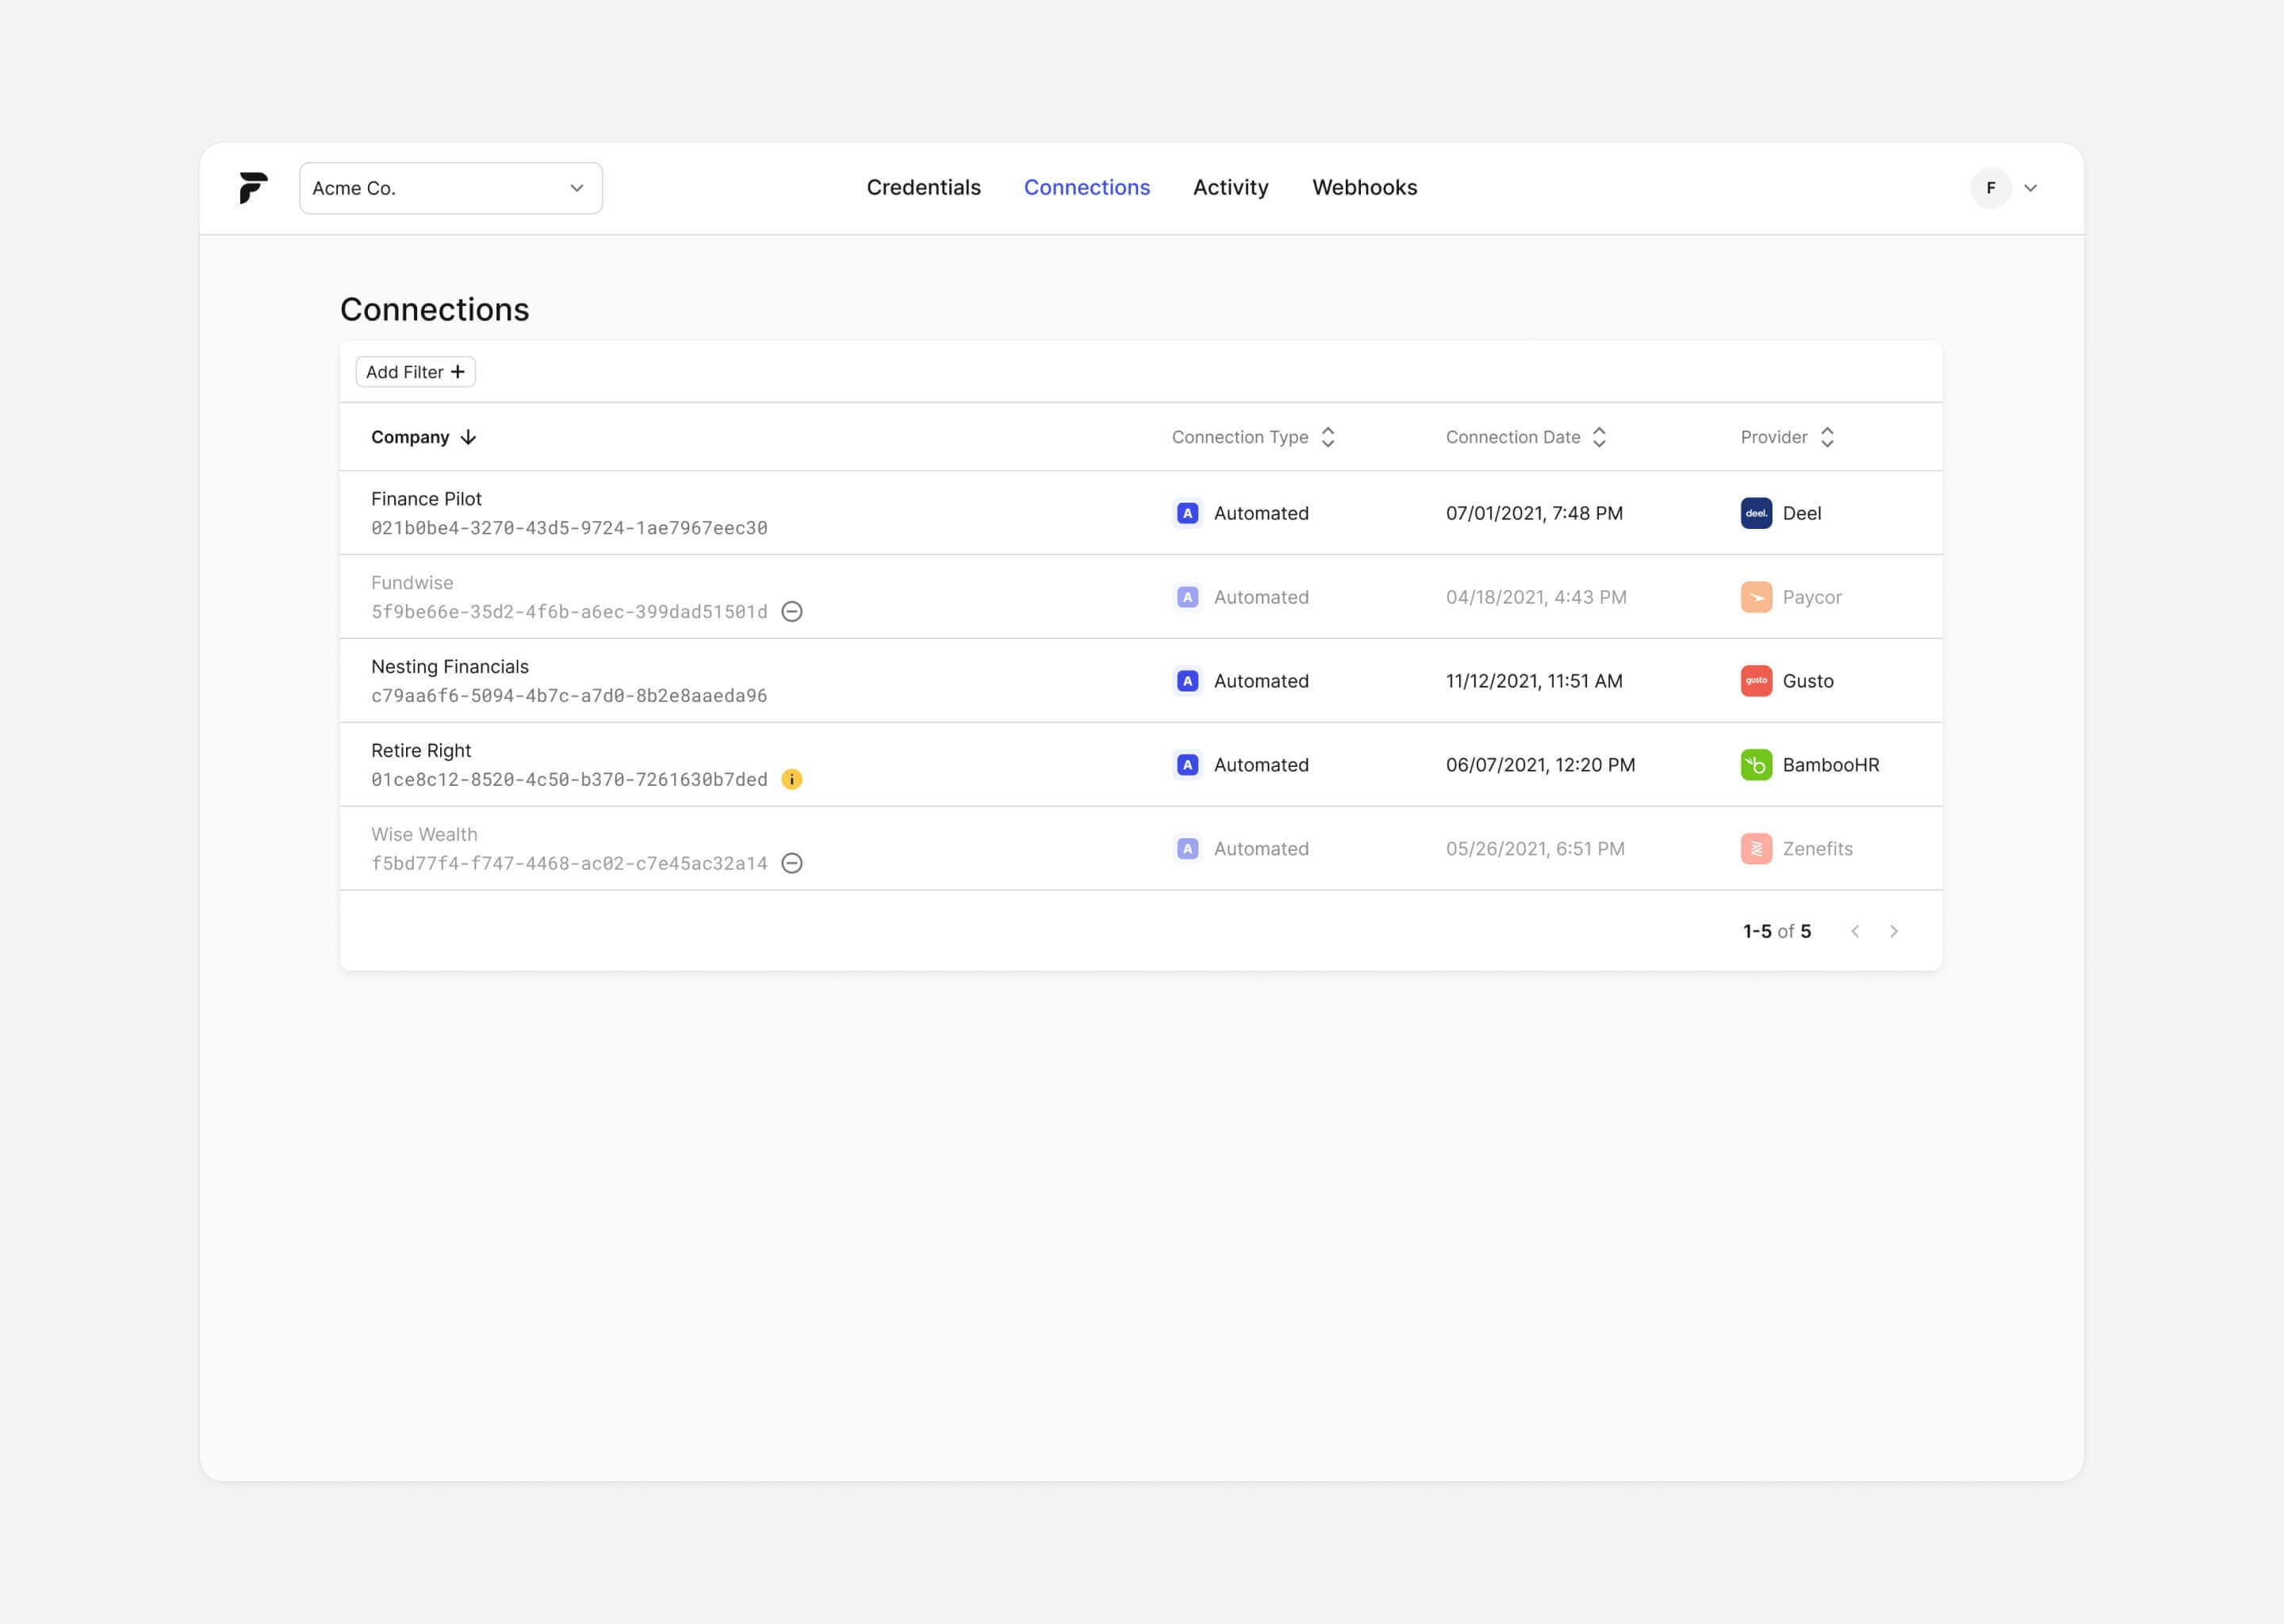
client_idandclient_secret, and product scopes. - Connections: View the status of your connections, including the last sync time and any errors that occurred.
- Integrations: Manage providers that you have integrated with, including the ability to enable or disable specific providers.
- Activity: Review the activity log to see a history of requests made by your application, including the request type, status, and timestamp.
- Webhooks: Set up webhook alerts to receive notifications when specific events occur, such as a connection error or a successful sync.
Verify Product Scopes
On the Credentials tab, verify the correct products (commonly called “scopes”) are checked that your application will need access to. Products determine the specific data your application can access and the actions it can perform. Each product refers directly to a Finch endpoint. If the products are not correct, reach out to your Developer Success Engineer or developers@tryfinch.com.| Product Scope | Description | API Endpoint | Read/Write |
|---|---|---|---|
| Company | Company data, such as company legal name, office addresses, or Employer Identification Number (EIN) | /company | Read Only |
| Directory | List all active and inactive employee employees at the company | /directory | Read Only |
| Individual | Individual employee data, such as names, contact information, or dates of birth | /individual | Read Only |
| Employment | Employment data, such as job title, department, start and end dates, or employee income | /employment | Read Only |
| Payment | Company payroll data, such as payment data, such as payment dates or total amounts | /payment | Read Only |
| Pay-Statement | Detailed pay statement data, such as gross pay, earnings, employee deductions, or employer contributions | /pay-statement | Read Only |
| Benefits | Ability to write back employee deductions or employer contributions directly to the employer’s provider. This is our Deductions product. | /benefits | Read/Write |
| Documents | Read company documents such as W4 Forms | /documents | Read Only |
Add Redirect URIs
(Optional) if you are using the Finch Connect Redirect Flow, specify any Redirect URIs for your application. This URL must be hosted on your own server or a trusted domain. Example:https://your-trusted-domain.com/api/finch/callback
To authorize with Finch, you’ll need to provide one or more redirect URIs. The user will be redirected to the specified URI upon successfully authorizing your application access to their employment system. On redirect, the URI will contain an authorization code query parameter that must be exchanged with Finch’s authorization server for an access token.
Finch’s embedded Frontend SDKs don’t need to set up a redirect URI. The default redirect URI https://tryfinch.com is already applied.
The redirect URIs must match one of the following formats—
| Protocol | Format | Examples |
|---|---|---|
| HTTP | A localhost URI with protocol http:// | http://localhost:8000 |
| HTTPS | A URI with protocol https:// | https://example.com |
Checkpoint + Next Step
After completing this step, you should have registered for a Finch Developer Dashboard account and set up a sandbox application, using your unique
client_id and client_secret. You should also have a clear understanding of the Finch products that your application requires. You now have everything necessary to Integrate Finch Connect Into Your Application to begin connecting to employment providers.